Your cart is currently empty!
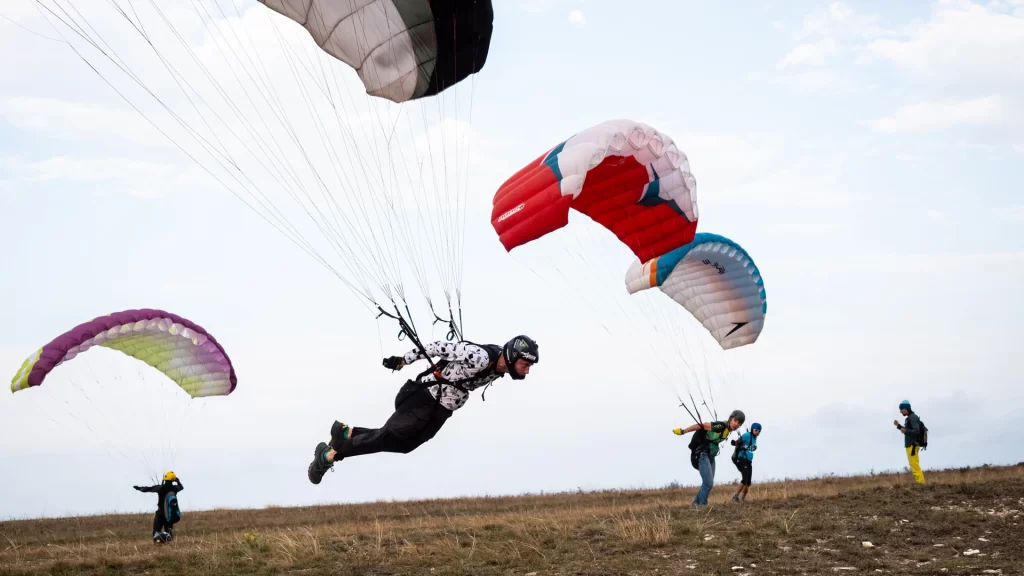
Speedflying no wind launches
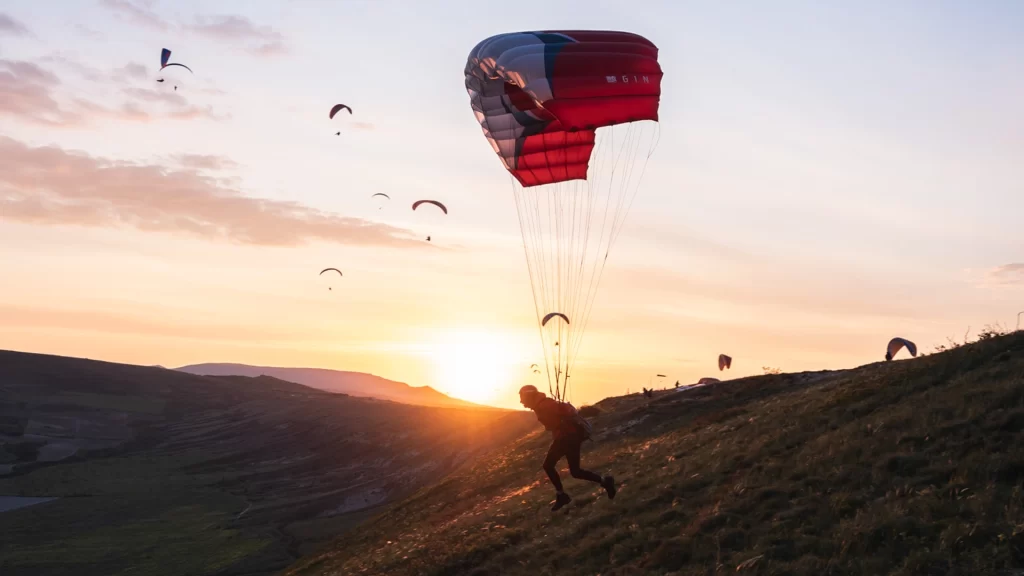
This is an updated version of our popular video lesson on no-wind speedflying launches. It’s been over 6 years since the original video, so here’s a simpler, clearer, and more up-to-date guide
Why No Wind Launches are
so important in speedflying
Mastering no-wind launches is a critical foundation skill in speed flying. Before moving on to more technical terrain, proximity flying, swoop, barrels etc. You must be able to launch easily and confident without wind support
What You Need to Practice
speedflying no wind launches
Proper speedwing Size
Start with a wing large enough to learn without fear. Too small a wing forces poor habits.
For example I use an 11m² wing for 75 kg, which is a balance between student and aggressive speedflying wingload
Solid Ground Handling Skills
Before no wind practicing, you must learn how to inflate and control your wing in stronger (4-8 m/s) winds without looking at it too much. Dealing with side to side and back and forth oscillations. Also you should know well where is your stalling point. Practice it on safe flat terrain
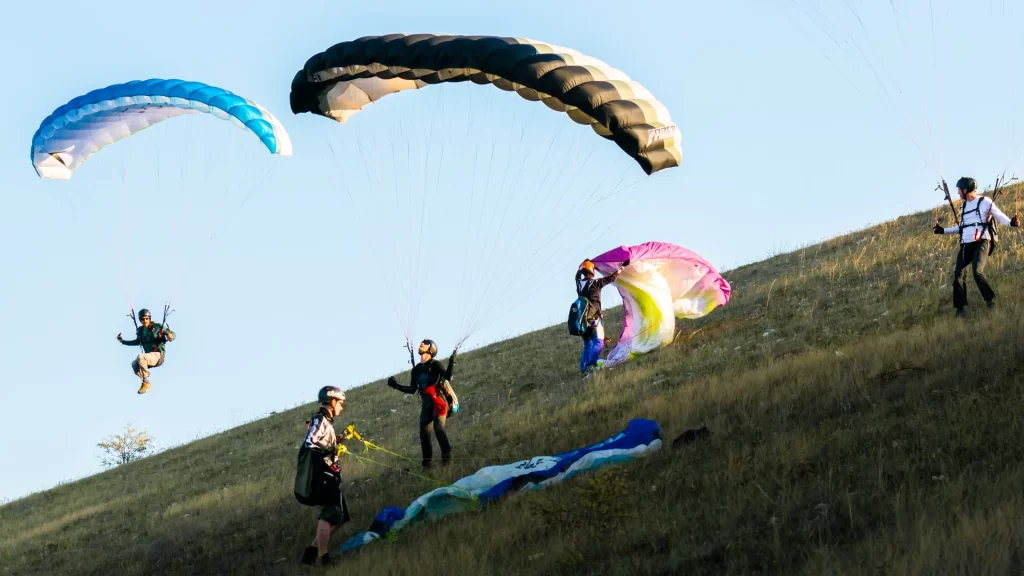
A Good Training Spot
You need to find a wide, grassy, more or less obstacle-free terrain. It should have a flatter terrain which gradually gets steeper so you can chose the slope according to your skills and tasks. This hill should be just big enough for a launch, short short flight and landing. Up to 20-30 meters high. Like that you will be able to do a lot of repetitions without too much hiking
Wait for good conditions
Start with light headwind (4–5 m/s). After you got used to this conditions and built trust to your wing support you can progress to no wind conditions. Plus minus 45° from direct headwind is acceptable.
Speedwing Setup: 3 Key Rules
Horseshoe Shape Layout
Lay out the wing with a slight horseshoe shape. The center should be higher than tips, helping the wing inflate symmetrically without turns or “butterflies”
Lines Above wingtips fabric
Make sure all lines go above the canopy especially on the wingtips. It’s common for wingtip lines to sneak underneath, leading to line overs during inflations
Tension Knot Check
Check and shake out all the lines. Tension knots, especially in dry spiky grass and with old hairy lines, are a common cause of failed launches
Three main principles of
speedflying no wind launches
Soft Inflation
Avoid overshooting or collapsing. Start slower especially if you have face wind or a steep slope. Use a bit of toggle input to stop the wing from overshooting. On flat terrain and without wind you should run fast straight from the beginning to inflate the wing
Direction Control
Learn your launching line: walk the terrain before flying — check for obstacles, slope changes and cover quality. Set up visual checkpoints (like a small rock pile or bush) to help you run the correct line without thinking. Practice side-inflations and adjusting your running direction. Learn to turn both your body and wing toward the launching direction before takeoff. Practice doing it with the limited space. Learn how to control the side drifting with some side wind
Run the Steep Part
Gain real speed only once you’re on the steep section. Flat terrain is only for wing inflation, stabilization and adjusting your direction. Flat part is not for the maximum acceleration! Once you reached the steep part of the slope – run hard to build speed and launching energy with the help of gravity and your speedwing. Avoid shelves or uneven steps — pick the smoothest transition from flat to steep
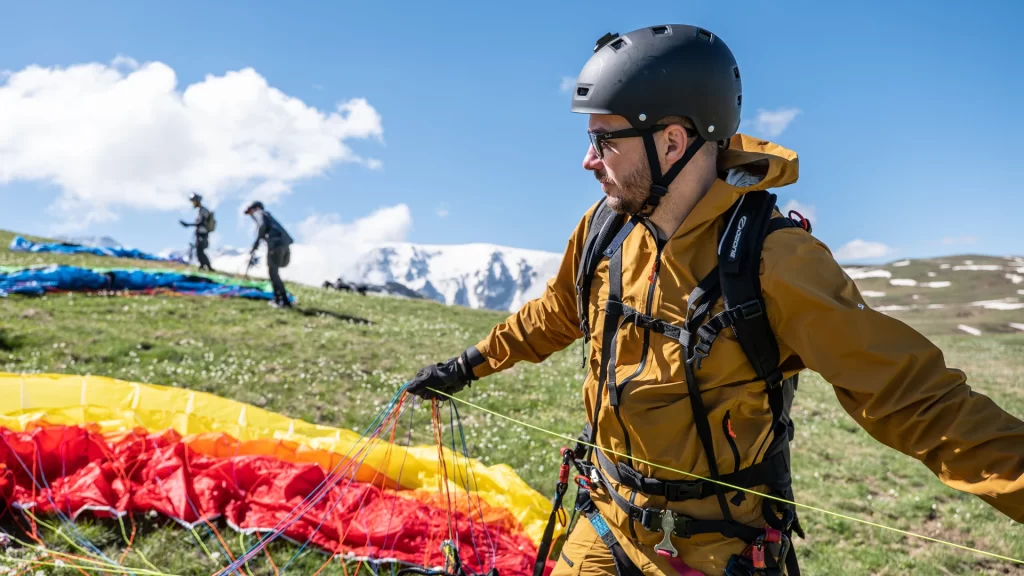
Risers, Trimmers, and Toggles Setup
Trimmers
Keep trimmers fully closed in most no wind slope launches — it gives max lift with your running speed. In some situations (for example cliff launches) you can use a middle trimmer setting to speed up your wing inflation. This settings can be different for some modern high-performance wings especially in small sizes
Toggles
Wrap toggles securely around your wrist. Tight it to the wrist. It will help to avoid losing them during launch or rear risers-toggles transitions. This rule works if you are flying without a reserve parachute. Get used to fly with gloves in chill conditions without shredding straight away
Holding the risers
Old school (front risers) — not needed with most modern wings.
Holding all the risers — useful for precise technical launches
Over-the-elbow method — best for students, ski launches, easy terrain
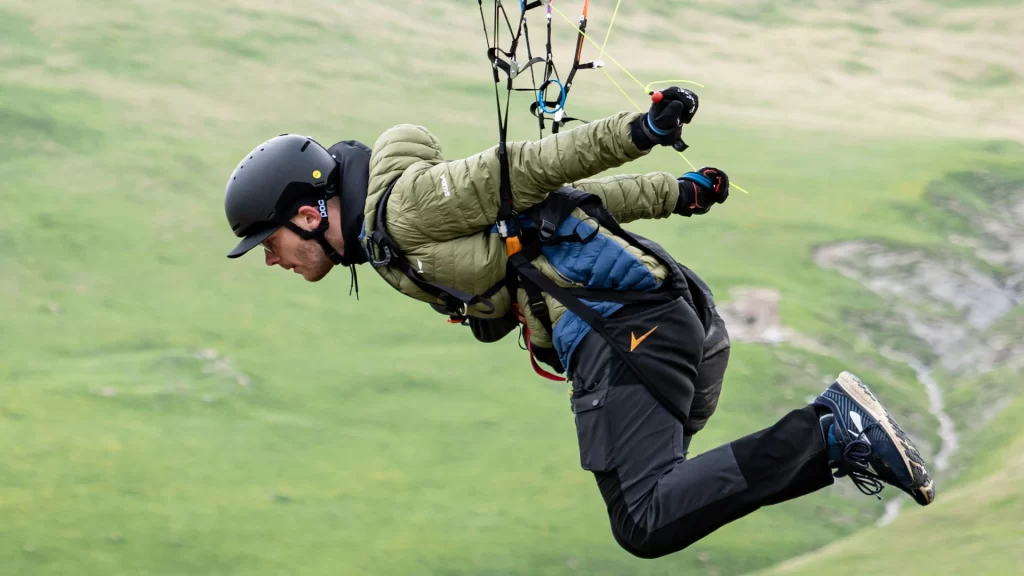
Body position and practicing tips
in speedflying launches
Lean forward about 45° during your run and the whole launching procedure. Not vertical — vertical is braking position. Forward lean helps you to gain the max energy and fight the wing drag. Use ground runs and hops to sync your final step with brake input.
Your main task during this practicing is to built trust to your wing. You are not just running you are riding your wing and it supports you with gaining the launching energy.
At the beginning of your run you can add a touch of brake to increase drag and support.
As you accelerate, slowly release brakes to gain more energy from speed.
This information is not a complete tutorial on speedflying launches. You are using it on your own risk and taking all the responsibility for your actions. If you need real life practicing check our Speedflying camps.
Message us if you have any questions